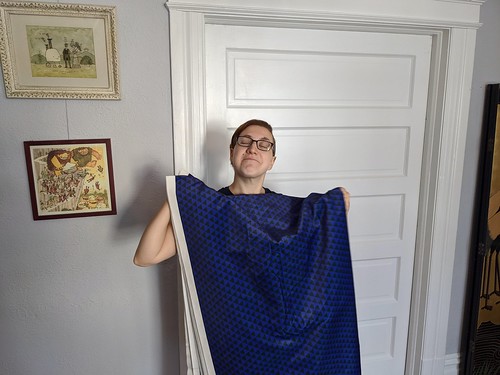
Now I have to draft the pattern and actually sew it…
Steen's home of the certainly strange

Now I have to draft the pattern and actually sew it…
I’ve been on the hunt for the perfect ears for costumes for a while now. Blending in the edge is always such a hassle and takes hours for the pros-aide (or whatever) to dry. And even then, I’ve never been happy with the result. Switching to silicone ears saved time (only ~5 minute cure time for the Skin Tite silicone adhesive), but I was still never quite happy with how the edges looked. I practiced blending the edges for countless hours before giving up. I had resisted casting my own ears for quite some time now, because I knew it would be a ton of work. But now that I’m sheltering in place in a tiny apartment with nothing better to do with my free time… I’ve taken the plunge.
I’ve known that professional staff will cast the actor’s entire ear and make a piece that covers the entire ear – and that’s why you don’t see an edge there – and I’ve dreamed of having that for myself for… I wanna say years now. I might be a bit of a perfectionist, because Doc couldn’t understand why I was unhappy with how the edges looked. But I thought they always looked terrible no matter how hard I worked at them.
I watched basically every video on Brick In The Yard Mold Supply’s YouTube channel, but especially this one:
And came up with the list of supplies I wanted to use:
I of course knew that I wanted to make flesh colored ears with green highlights – appropriate for Romulan ears – as well as flesh colored ears with red highlights – that a human could wear without needing to put on a full face of green makeup. Casual ears, if you will.
Then I cast my ears with the alga-safe
And after the alga-safe set, I mixed the 2-parts to the EasyFlo 120 resin and poured it into the negative very soon after taking it off of my head. That is because the alga-safe will shrink as it dries out, so you want to use it straight away. Also make sure that the alga-safe gets everywhere around and in the ear, so there are no bubbles.

Behold an ear! I left most of my piercings in when I did the casts, because I usually put the ears on over my piercings anyway, so I thought it would be good to fit them in. I don’t think it made much of a difference, in any case. But that’s what many of those bumps are. The rest are moles, because I am very moley.
I then covered everywhere that I wanted there to be silicone in the final ear with modelling clay (so, basically the entire ear) just like in the Brick In The Yard video, sprayed the whole thing with the mold release, and then covered them with more EasyFlo 120. I decided not to build it up like they did in the video, but did it in little plastic bowls, due to the shapes.

The resin positives and negatives. As you can see, there is still a ton of modelling clay on these that I cannot clean off. I did not buy the stuff for cleaning clay off that they recommended, and have paid the price.
Then I mixed the appropriate pigments and flocking together in part B of PlatSil Gel-00 until I got the flesh (human or Romulan) color(s) that I wanted. Then when I was happy with the color, I added an equal volume of part A, and poured it into the molds and snapped the positives into the negatives and put a weight on top while it cured. About 30 minutes later I got to demold them.
Also if I did this again, I’d do a 2-part mold, something like this
Instead of what I did, because it is very difficult to make sure there are no bubbles in these molds I made. Very difficult. With these I have to pour a little bit slowly, turn it around, and then go in with a toothpick to kind of push it into the tips. Oh well. I don’t think I’m going to do it again at this point, but we’ll see.
Then it was time to paint them to add detail with the Psycho Paint and Silc Pig pigments. I also added flocking to these “paints.” Also I don’t have an airbrush so I used a cheap paintbrush that I could throw out after and Q-Tips. It was more difficult and I had to do several layers to get the effect I wanted, but I think it worked pretty well. The Psycho Paint takes 2 hours to cure instead of 30 minutes like for the Gel-00, so the painting was a very time consuming part of the process. Again, I mixed the pigments until I liked the color in Part B of Psycho Paint. Then I added an equal volume of Part A, and mixed thoroughly before painting.
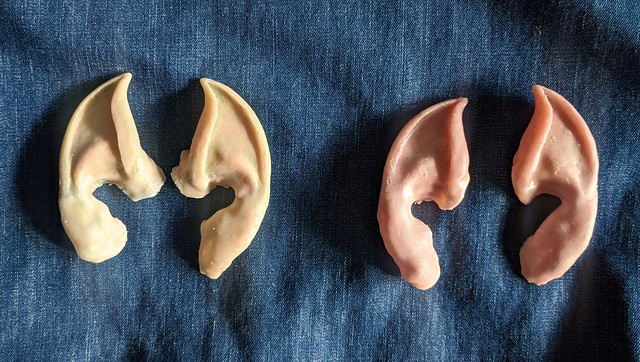
Also can I just say how frustrating it is photographing green on flesh color with my phone??? I swear it is using some kind of deep learning to color correct and/or “pink out” my green, because I can NOT ever find a way to capture how green these are. Same when I do my green makeup. I am completely unable to capture it on my phone. The green ears have way more green in them than any photo ever indicates. I wonder if I used an old digital camera or even an analog camera if the green would show up?
Also I cut the flashing much tighter on the red ears than on the green ears, because the point of the red ears is to wear them when I go out casually with no makeup. The green ears I left a lot of flashing on them to anchor them to my head, because I will only ever wear those with a wig and a full face of green makeup to blend in / hide those edges.
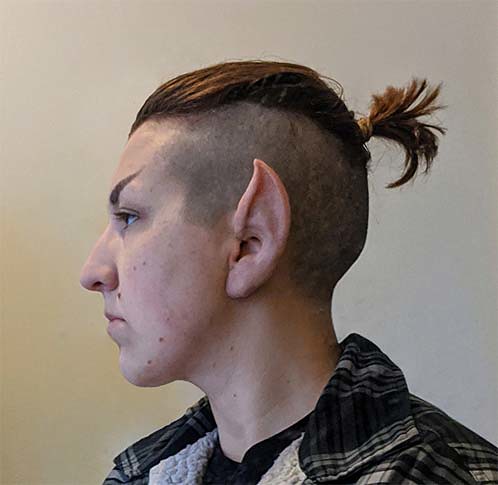
And I am pleased to report it has been a huge success! It has been an enormous relief. I’m so happy that it perfectly covers my entire ear, and I don’t have to blend any edges (because the ear kind of naturally has a “line” there anyway so it looks good). And it fits flush onto my ear and head, so the adhesive sticks very easily and stays in place.
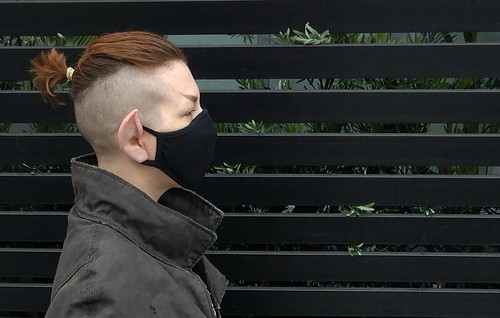
Behold the casual ears with no makeup:
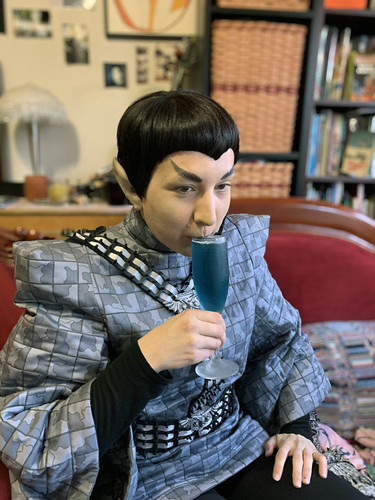
And of course the Romulan ears, with wig and makeup (alas, neither the green in my face nor on the ears seems to come through in the photo – seriously I had so much green makeup on my face it almost looked excessive in person)

It was many many hours of work, but now it only takes ~5 minutes to apply the ears. Not only is it faster and easier for me now, but it also looks much much better than anything I’d ever been able to accomplish by blending in the edges of ears that only cover half my ear. I’m seriously so relieved.
So since I’m stuck inside and I can’t go to the gym or rehearse with the string ensemble anymore due to Shelter in Place, I think I’ve been doing more crafting. Especially all the little details and fiddly bits that I’ve been putting off for a while.
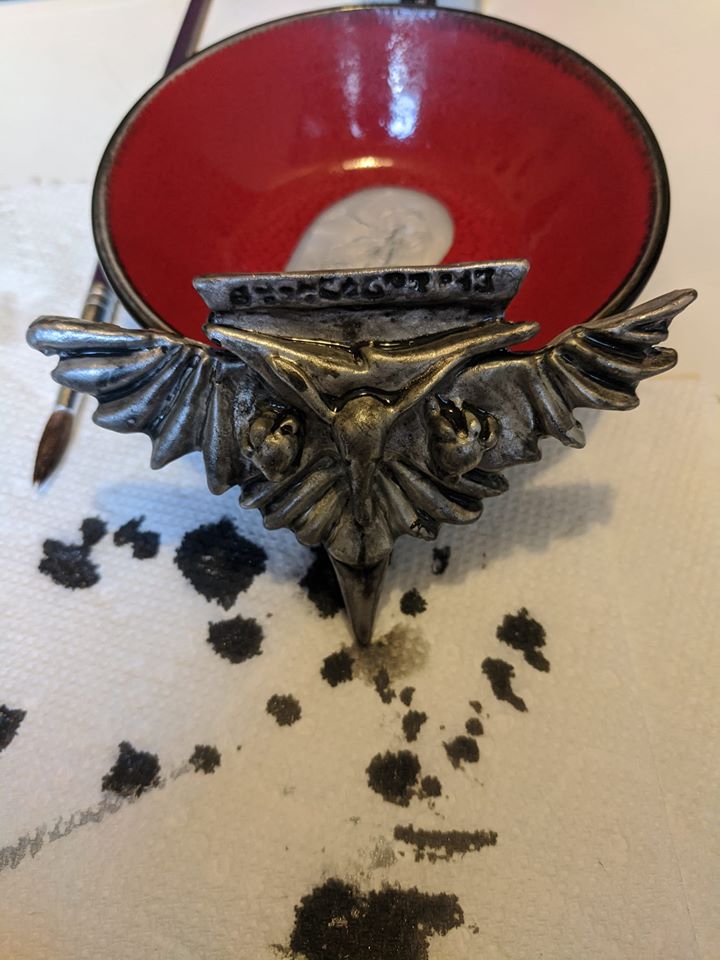
Like priming and painting the emblem badges
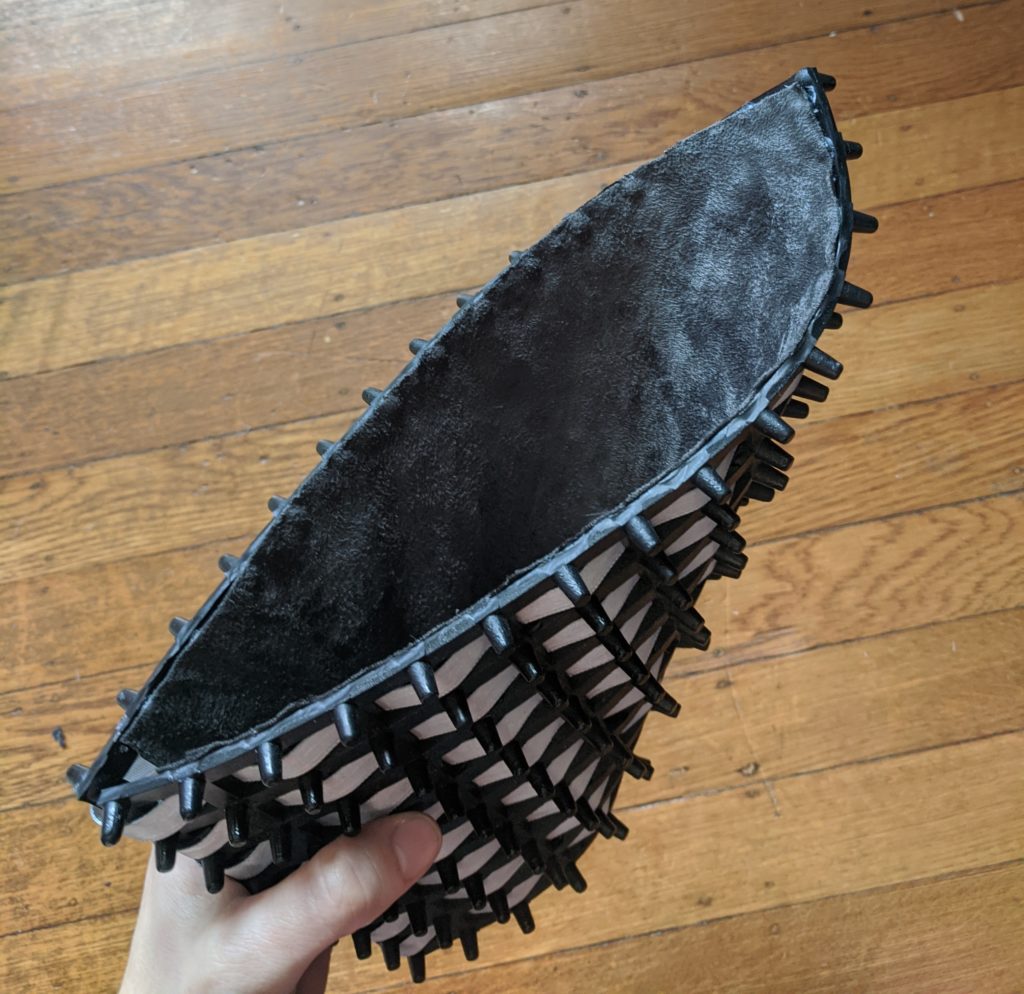
And I finally lined the disruptor pistol holster with some suede the other day. So far as I can tell, the ones the actors wear on the show are unlined, but I thought it would look nice and swanky so I did it. Now I just gotta install the rivets and carabiner clips and it should be good to go.
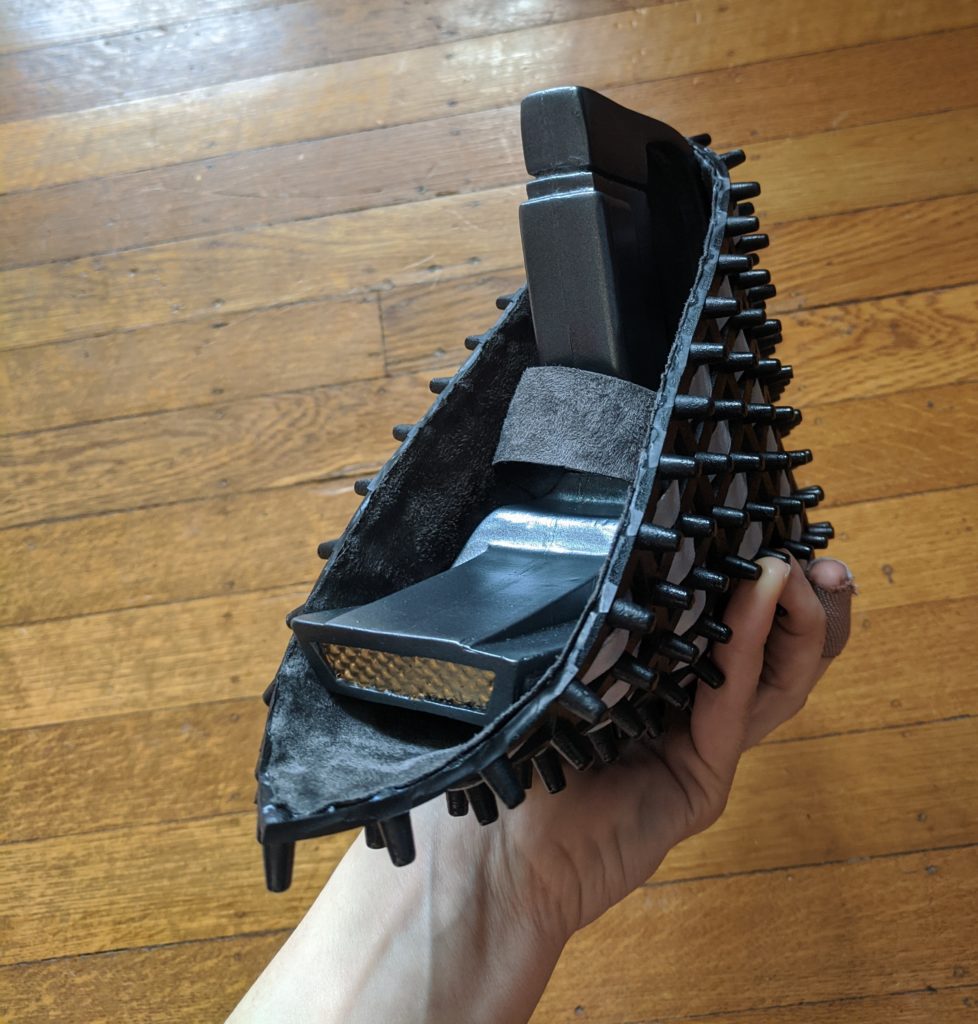
Oh yeah, I’m gonna be the swankiest Romulan on the block. I’m gonna swagger on into town all like “Ladies” and all the ladies will be like “OMG who is he???”