

Well, as promised, here is the “making of” portion to accompany my Dagoth Ur cosplay post.
First, I made the main mask portion with modelling clay without the headdress portion, because I began to make it from modelling clay and found that it would just take too much clay to build. So I decided to cut the headdress part later out of foam or something.
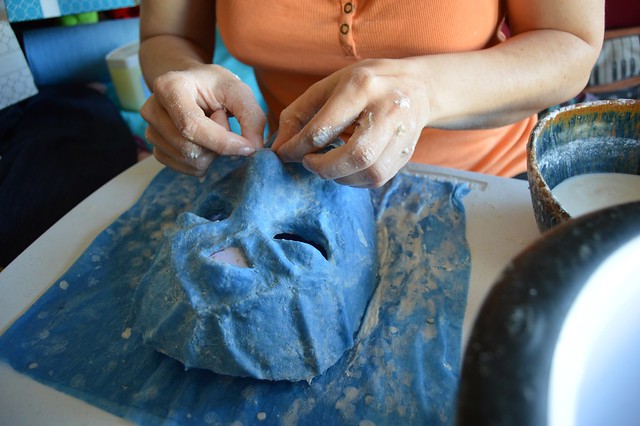
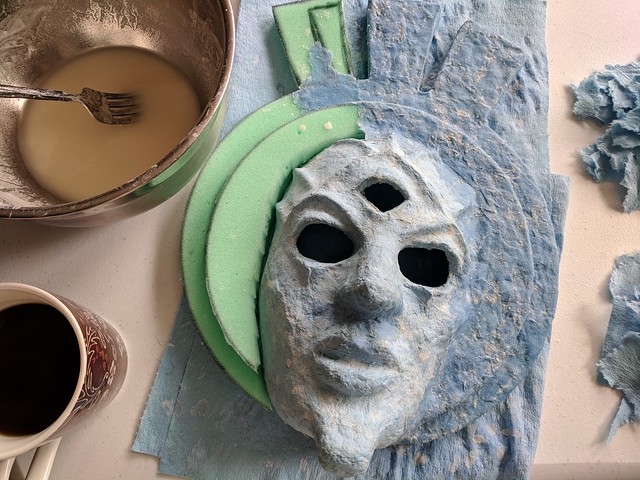
Then, I coated the modelling clay in vaseline, to prepare it for the paper mache. Then I went to town, putting layers and layers of paper mache on top of the modelling clay:
I was particularly worried about the modelling clay getting stuck in the eyelids, because as you can see in the above image, the paper mache actually wrapped inwards on the clay eyelids. Surprisingly, however, no bits of clay stuck in the eyelids whatsoever! But the entire beard was stuck in, and I had to fish the clay out of the beard with a fork. I got it out, though.
If you’re wondering why the paper mache is blue, that is because I saw somebody suggest using shop towels instead of newspaper because they are buff and absorbent. I thought that sounded like a great idea – but after having done it, I’m not particularly impressed with them that I’d say to use shop towels over newspaper. I feel like, just use whatever you have on hand. If you have a bunch of newspaper, use that. If you have shop towels, I guess use that.
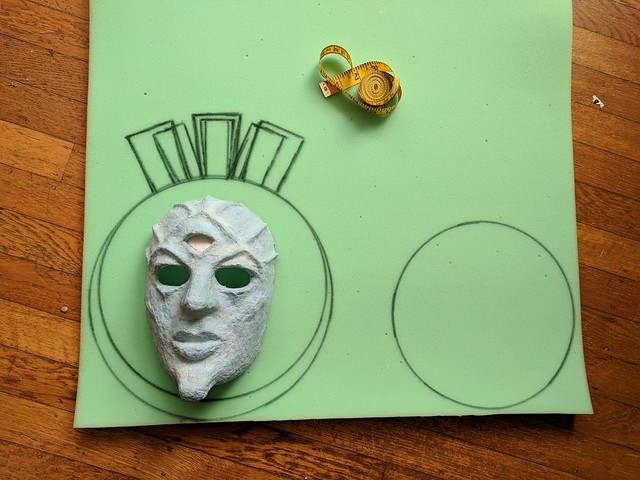
Here you can see, I’ve begun planning out the foam parts to cut out for the headdress.
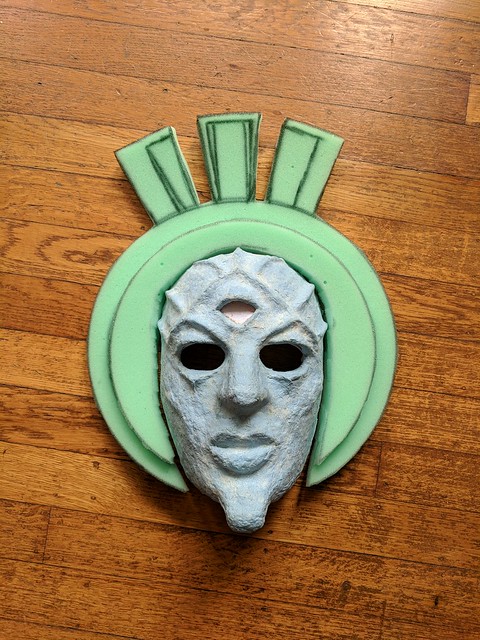
Here you can see, I cut out the foam and placed it around the mask in roughly the arrangement I wanted to see.
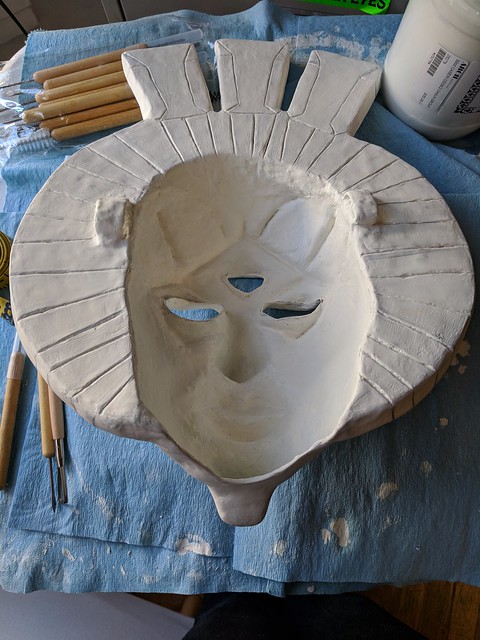
And then I just incorporated the foam parts into the mask using paper mache.
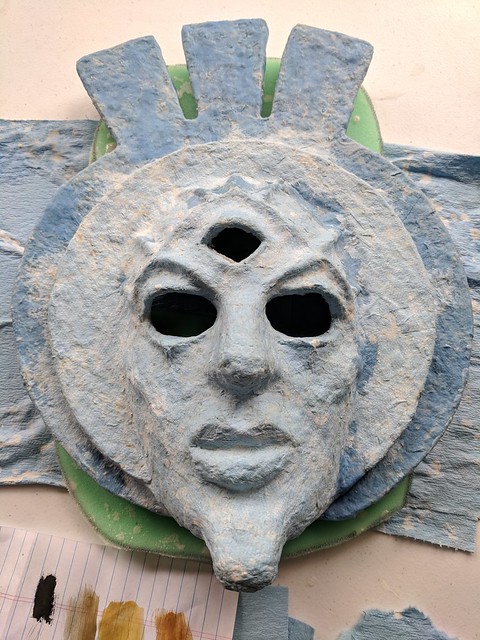
And then of course, let it dry. Here I’ve rested it on some scrap foam to avoid getting scratched etc, that foam is not going to be part of the final mask.
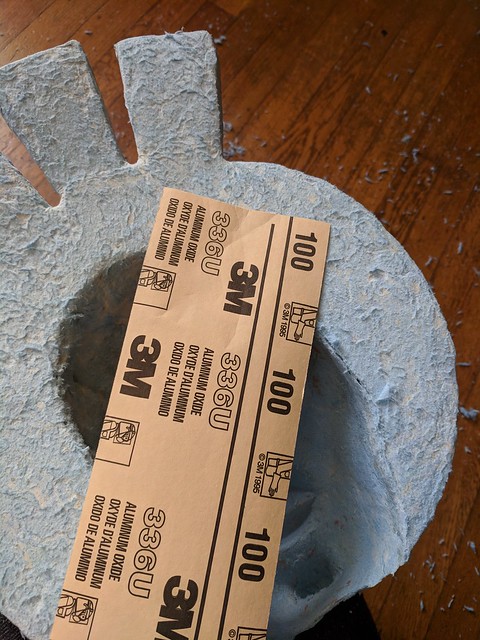
Then, I sanded it to get it smooth. Starting with coarse, then eventually getting to fine grain. This is the stage that I feel like newspaper would be slightly better for, but the shop towels sanded smooth well enough.
Then, once I was happy with how smooth the paper mache was, I started layering gesso onto it – and of course, sanding many of the layers of gesso.
Then, after a few more layers of gesso and sanding, and I got it as smooth as I wanted, it was time to start carving the grooves and do fine detailing. I used clay shaping tools for this, because the gesso is relatively soft.
Here I’ve drawn the lines onto the surface in pencil, to help me as guides for where to carve.
Here I am carving the grooves and details into the gesso.
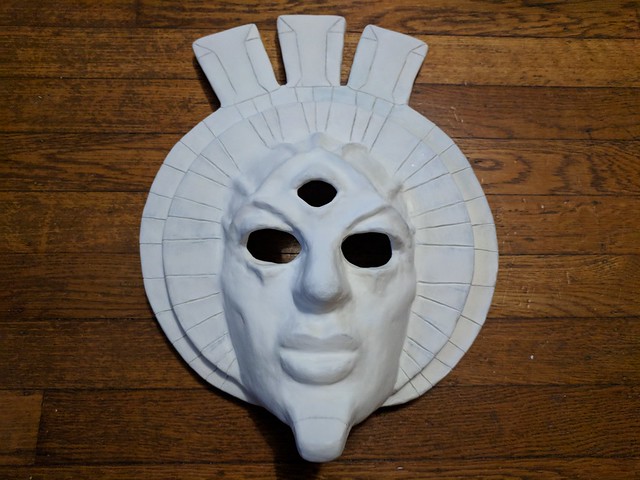
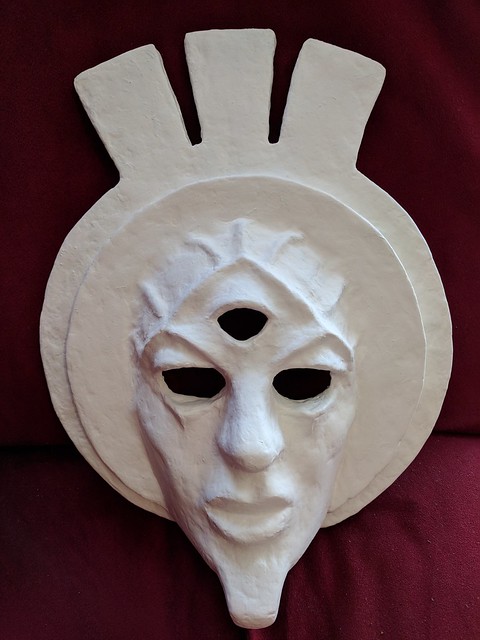
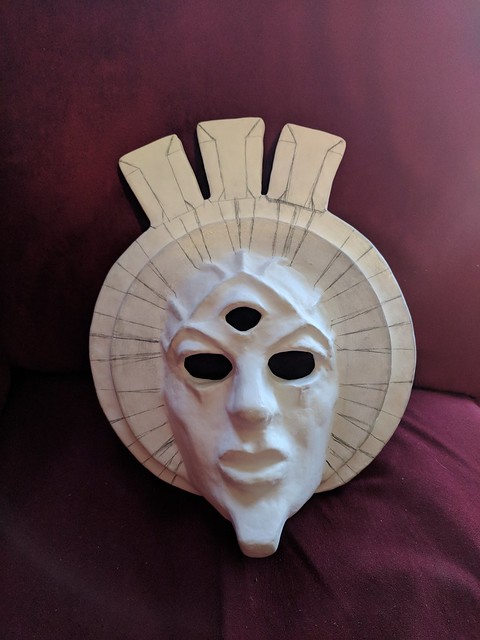
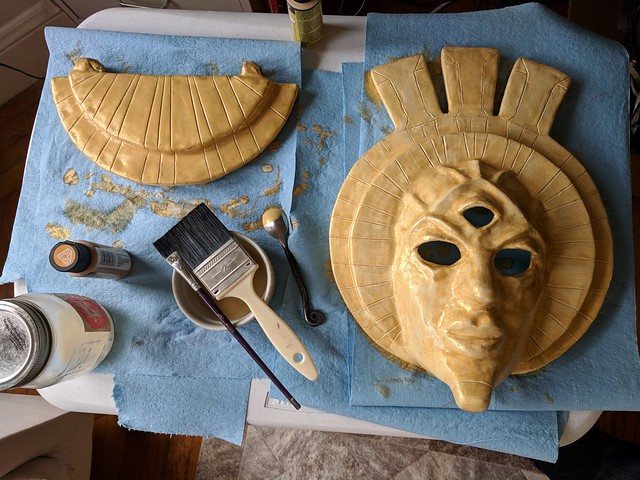
Here it is with all the grooves carved in. At this point, all that remained was to paint! So, to paint, first you start with a base color. Make the base color slightly lighter in color than you want the final color to be, because you will do a rinse later at the end to bring out the grooves and details, but will also somewhat darken the whole piece.
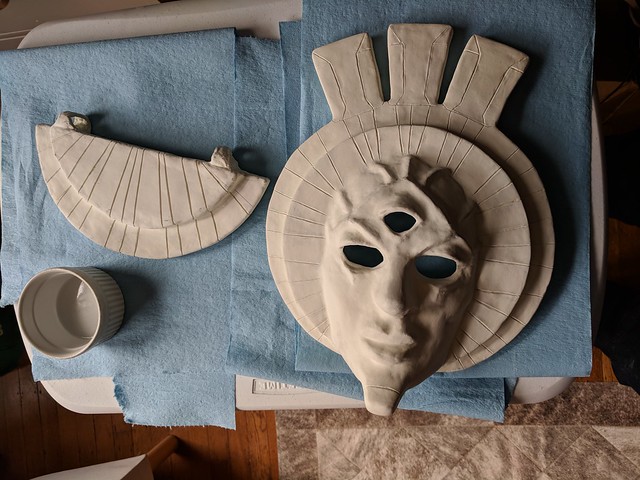
Here it is ready to get painted (note that I made the collar via the same method as the mask).
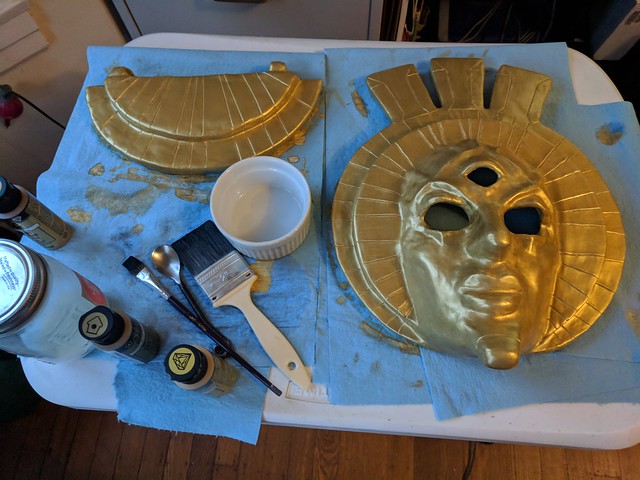
Here it is after a couple of layers. It will look like a terrible color initially, but this is because it is important to slowly build up the base color over many many thin coats of paint – don’t just glob on a huge thick coat of paint all at once, even though that will be tempting because you will want a beautiful color. You just have to have faith that the layers will build up! I even thinned the paint with water (I used acrylics).
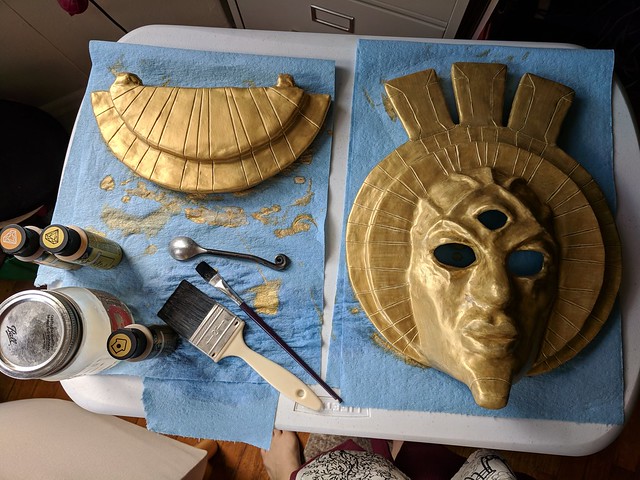
A few more layers, and already it is looking better!
And it looks better still after just a few more layers! Now it is looking better and better with every layer. Then, once I was finished with all the layers, I did a rinse, with a color a few shades darker than the base color, mostly to fill in all the groves and make them really stand out, but also to bring out the details around the eyes etc.
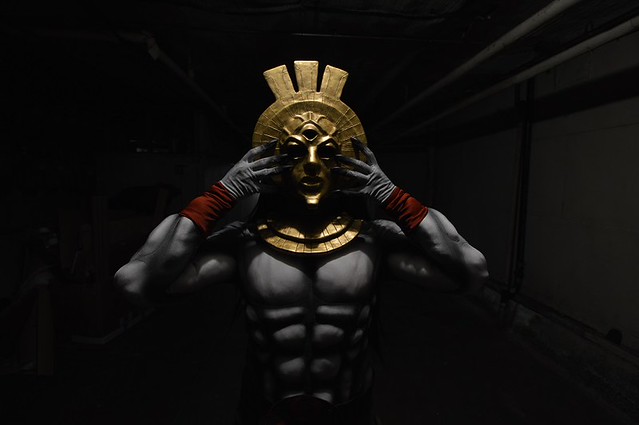
And then, tah-daaaah!
2 thoughts on “Making the Dagoth Ur Mask”